Hendrix and the Hedgehog is now available in North Shore libraries

As some of you know, I penned a short children’s story in 2020 for my Grandson Hendrix, who was a micro-preemie baby born about 100 days early.  (see my earlier blog about it in the archives at left).

The story celebrates his success in overcoming a very rough start to life, but also means to highlight the exceptional skill, professionalism, and commitment by the BC Women’s Hospital NICU staff in helping Hendrix on his journey. 

The story was submitted to the process of having the book included into the North Vancouver City, the North Vancouver District, and West Vancouver Memorial Public Libraries through a program that supports locally created literary content.  (I grew up in West Vancouver).

The submission was successful, and this fall (2023) the book is available to be checked out at the Libraries mentioned.

Huge props to my sister, Carolynn Elliot, who illustrated the story!


4 Days of Loonacy

(June 22 - 25)

So one of our lake friends has a neighbour in Metro Vancouver who is a well known wildlife photog (Martin Palmer) who was interested in photographing Loons with chicks. I was introduced to him via email, and we struck up a conversation about wildlife photography, and life in general … and suffice to say that I ended up inviting him to spend a few days in our guest cabin to use as a base camp for Loon-watching. In particular, Martin was targeting photos of chicks riding on Mom’s back - a behaviour that only occurs for the first couple of weeks after hatching. I tried to keep watch so as to determine our best window of opportunity. In mid-June, with the help of some intel from our neighbours around the lake, I learned that the loons were hatching. I let Martin know that the clock was now ticking, so he completed his preparations and headed north to Green Lake.

Martin brought his own boat, which was well set up for photography, or fishing. His first two days here were cold and rainy, not conducive to nice pictures of birds on the water, so we searched the marshes for other opportunities in the meanwhile. Sitting still in a swamp under a cold downpour for an hour or 2 with the mosquitos is not the most fun, but we did have some success to show for our discomfort.

Click on the image to see the enlarged photo

When the weather broke in our favour, we were able to begin our loon watching expedition. Our routine was to to get out first thing in the morning, (5am!) and again in the late afternoon/evening. This gave us the nicest light, and dovetailed with feeding times for the chicks. Mom was typically left alone with the chicks for much of the time, but Dad showed up at intervals to catch and feed small fish to the chicks.

Below are a few of my results.

You can check out Martin’s pics on his website

Click on the image to see the enlarged photo

Crazy Northern Lights

Apparently we are in the midst of an 11 year increased solar activity cycle, and as a result we are able to see the Aurora Borealis at latitudes much further south than normal - and more frequently too.

It has always been a special treat to see them around Green Lake, (51.3031° N, 121.3958° W) but lately we’ve been very spoiled! The display comes in so many shapes, colours, sizes, with quickly changing degrees of intensity, and at various times of the year … you never know what you’re going to get!

Here’s a few of my favourite Aurora images from the last couple of years.

August 7, 2022

March 27, 2023

April 3, 2023

March 30, 2023

October 11, 2021

Hendrix and the Hedgehog

Hendrix and the Hedgehog; A story by Warren Lowe

Update June 2023; Through the North Shore Authors Collection Program, Hendrix and the Hedgehog will be available beginning in the fall of 2023, in the North Vancouver City Library, North Vancouver District Public Library, and West Vancouver Memorial Library

I wrote this story for my grandson Hendrix.  It is illustrated by my sister, Carolynn Elliot.

Having been born 100 days early at 25 weeks, and weighing only one and a half pounds, our grandson spent the first 4 and a half months of his life fighting for his place on this earth in a NICU incubator. 

The people at BC Women’s Hospital in the Teck Acute Care Center were nothing short of astonishing in their skill, dedication, professionalism and commitment during Hendy’s stay there. 

Suffice to say that it was a very hard go, but Hendrix made it with their help. 

It further goes without saying that my son and daughter in law also made that incredibly difficult journey right beside him every moment of the way.  Armed only with a lot of love and slim hope, how hard was that?

The various wings in the NICU are identified by different animals. Hendrix just happened to be the Hedgehog wing, and thus provided the perfect companion for the story.

The story itself is allegorical to the experience of every little babe in the NICU, and it is life lessons for children of any age;  we all need a friend sometimes to help overcome the obstacles along our path.  (So true today, yes?) Perseverance and friendship are the main themes of the story. 

                    ———-

The tradebook version is printed on standard paper, with hard and softcover options.  It is the most economical. 

The photo book version is printed on premium photo paper, in hardcover or softcover.  It also includes a small photo collage of Hendrix at the end, which the tradebook version does not have.  Photo book versions are a higher quality, but therefore more expensive to produce.  

Profits will be donated to the Neonatal Intensive Care Unit (NICU) in Vancouver. 


Link to tradebook version and preview:

Hendy tradebook version

Link to photo book version and preview:

Hendy photobook version

All of a sudden it's 2020, and so far it's not great.

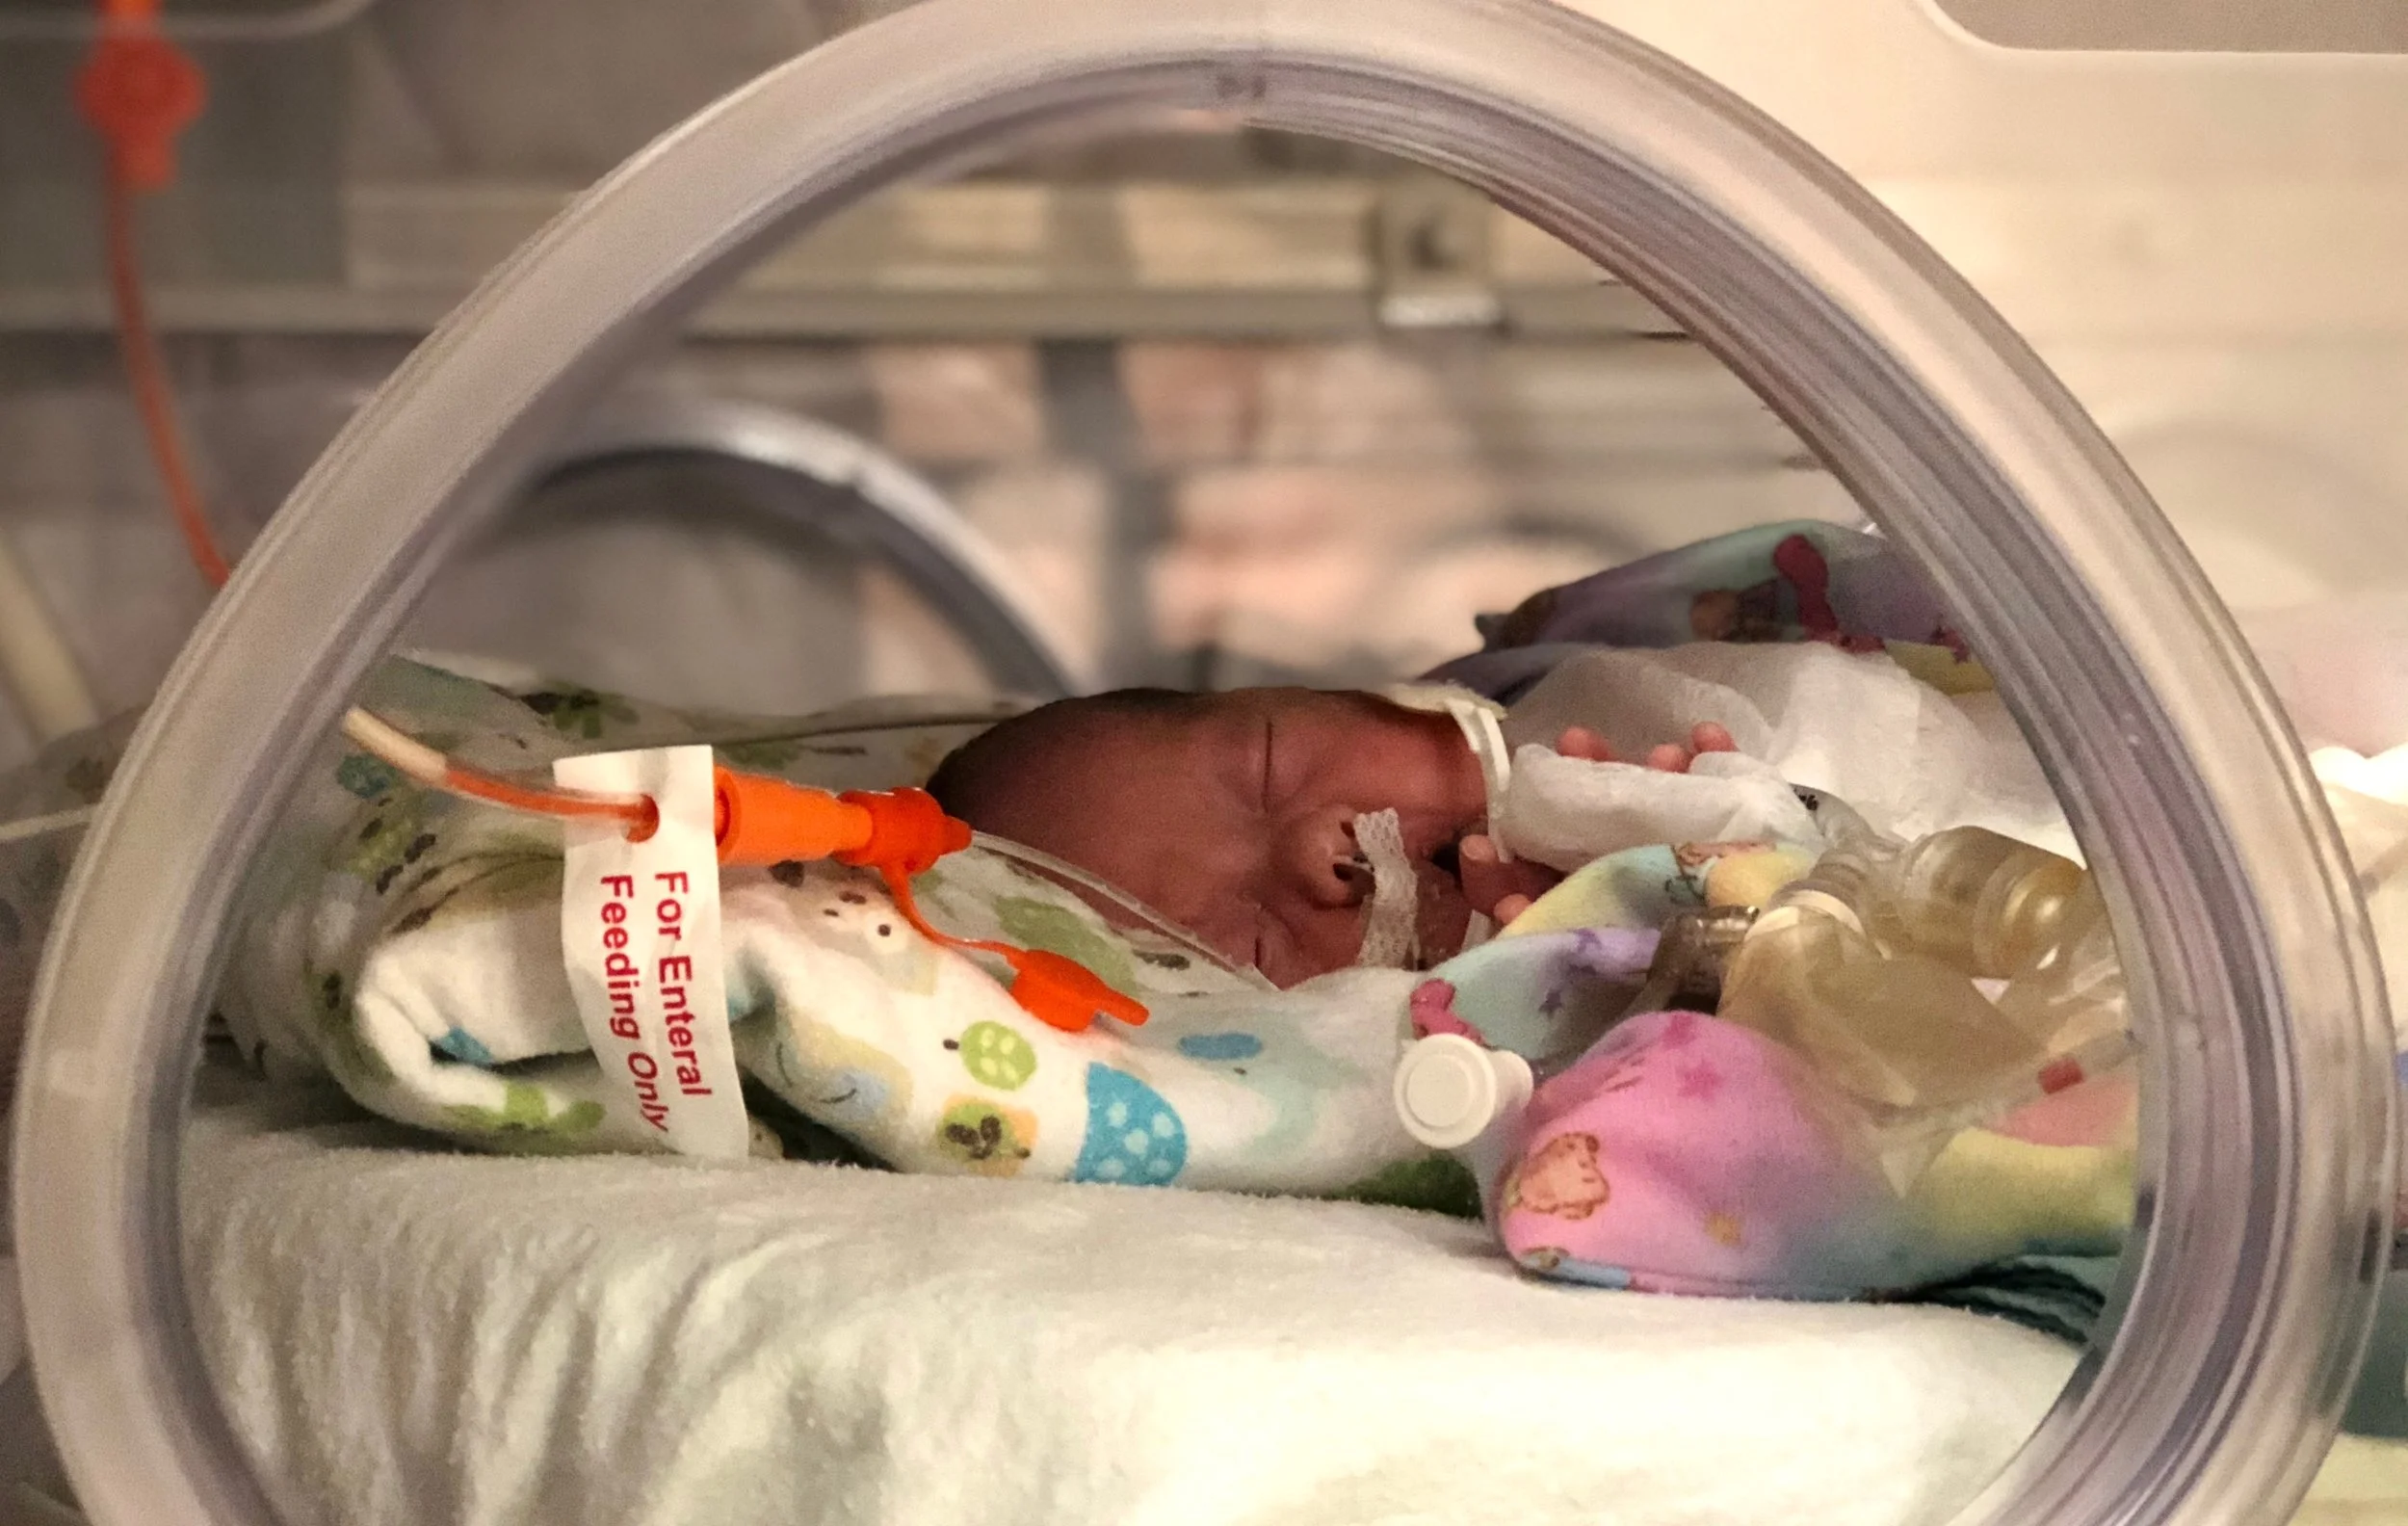
I finally retired at the end August 2019, and it’s been a whirlwind ever since, so I have some catching up to do here!

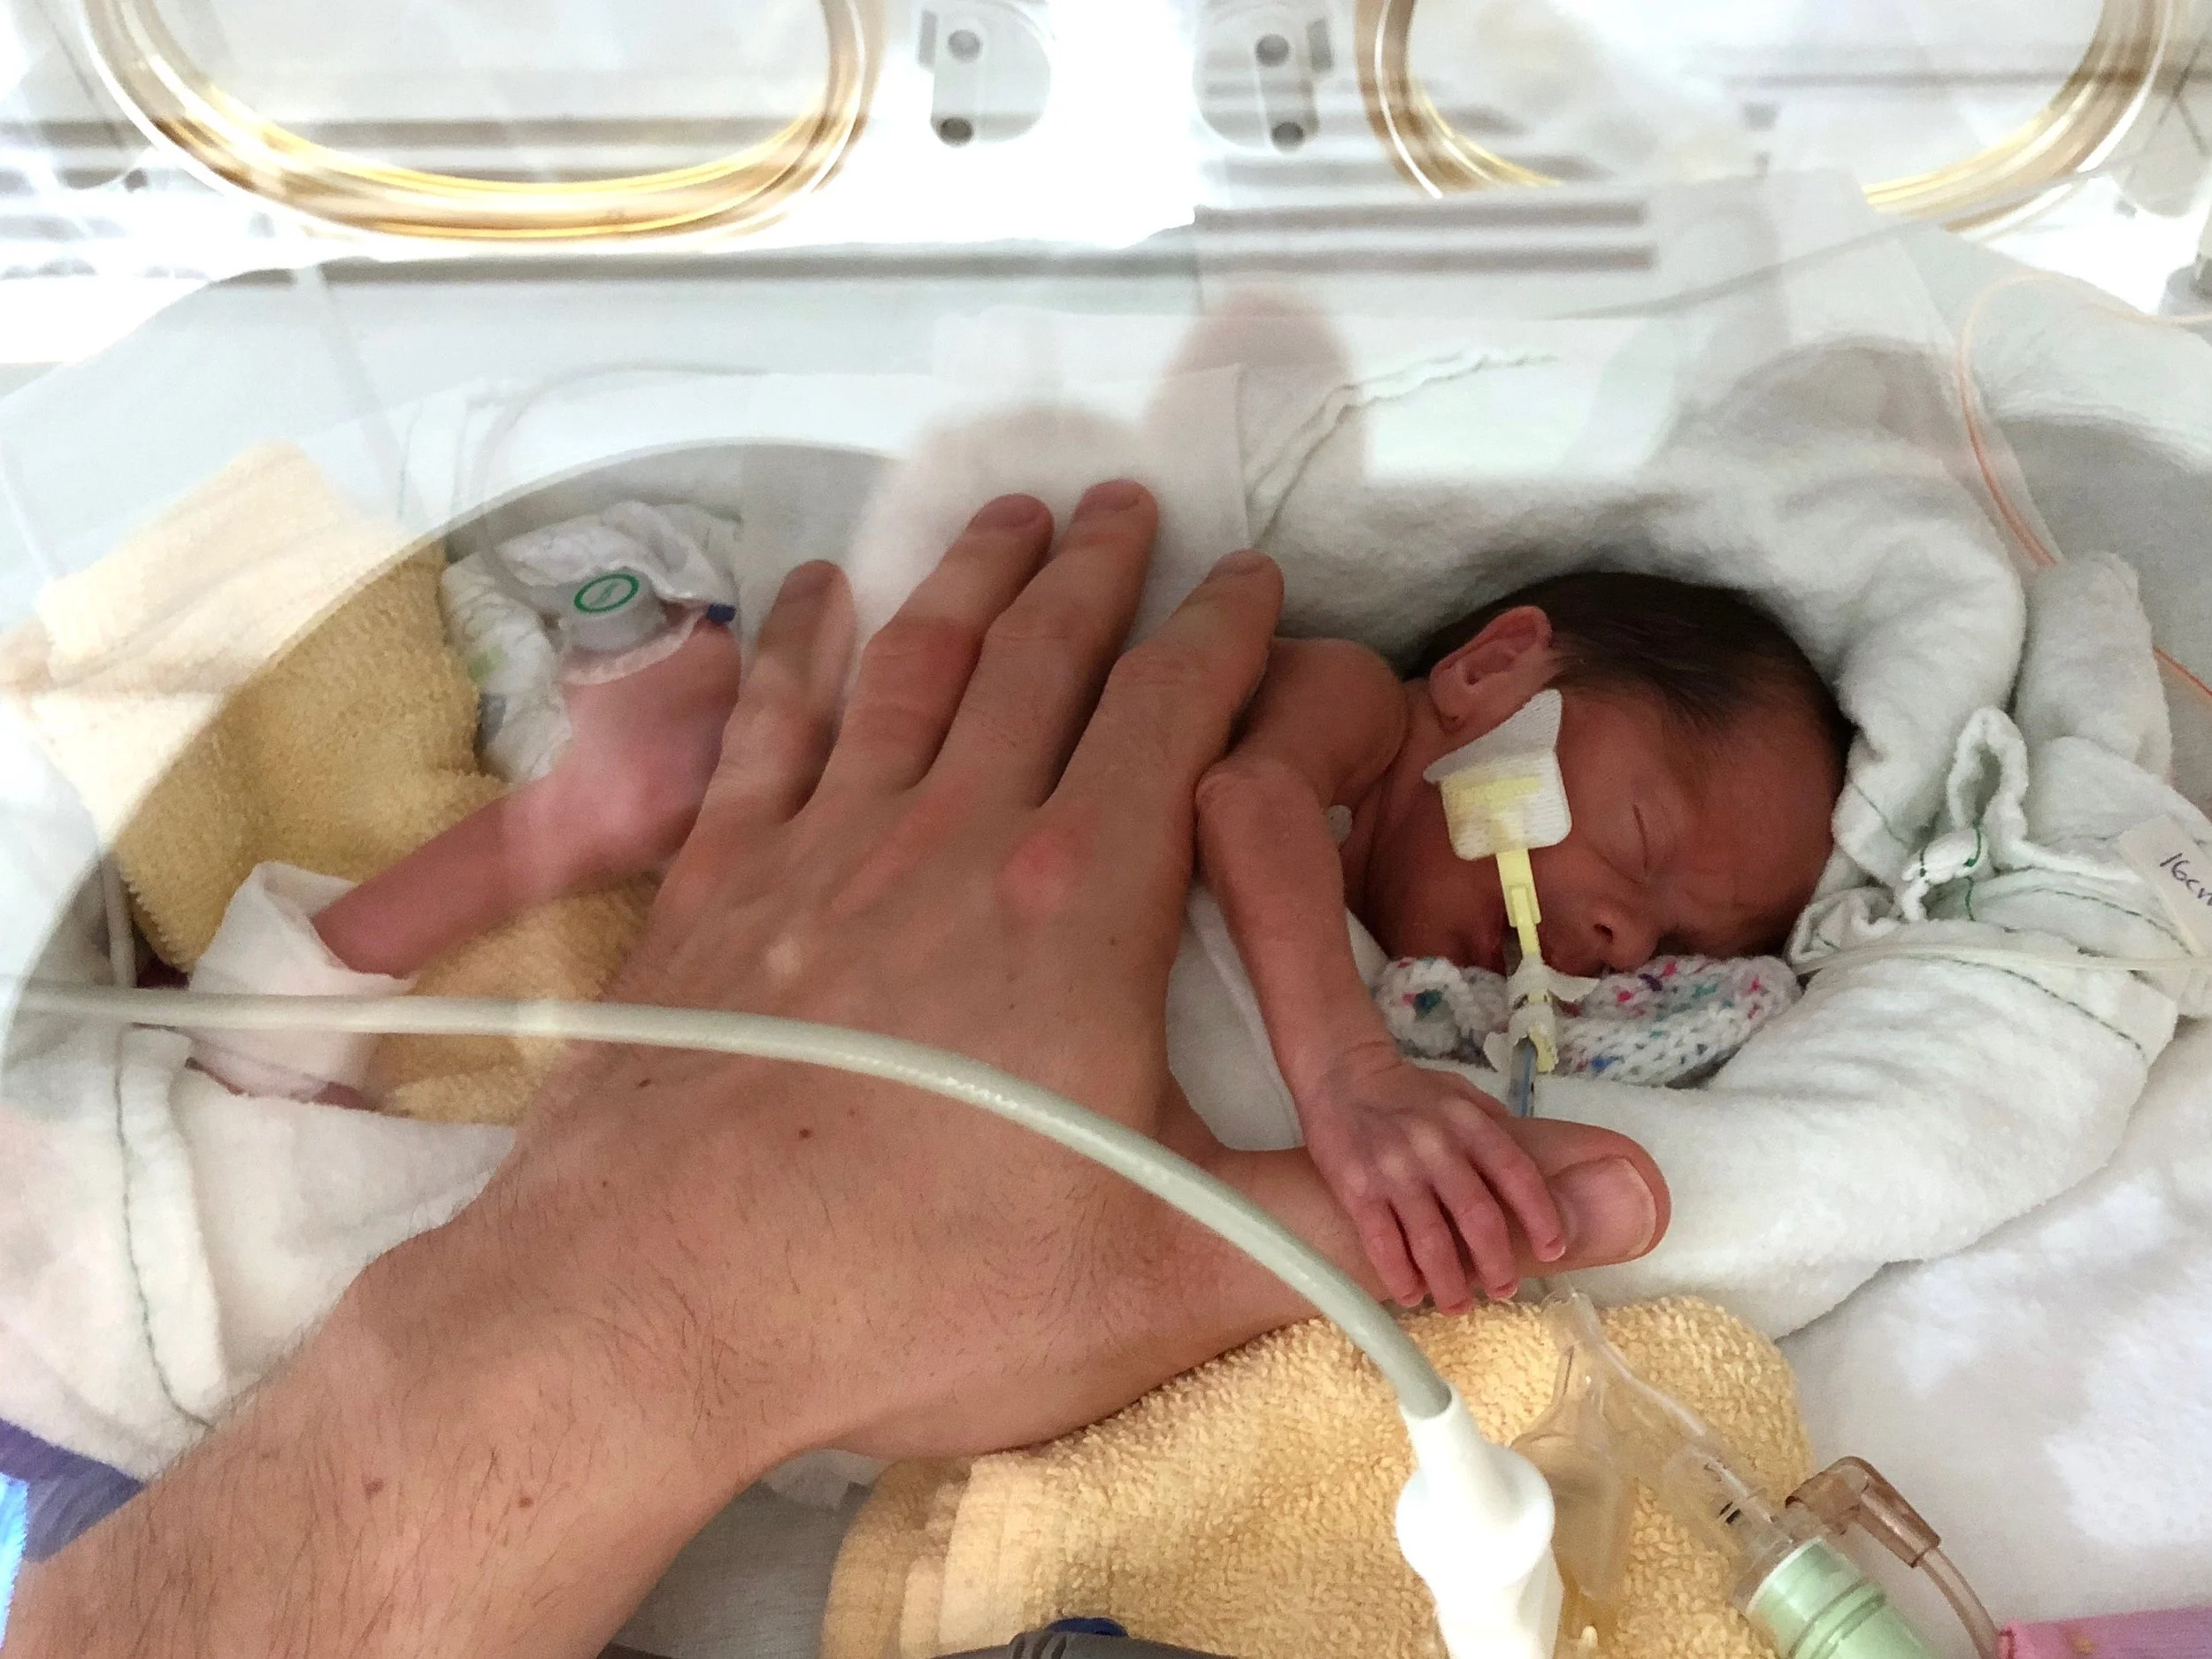
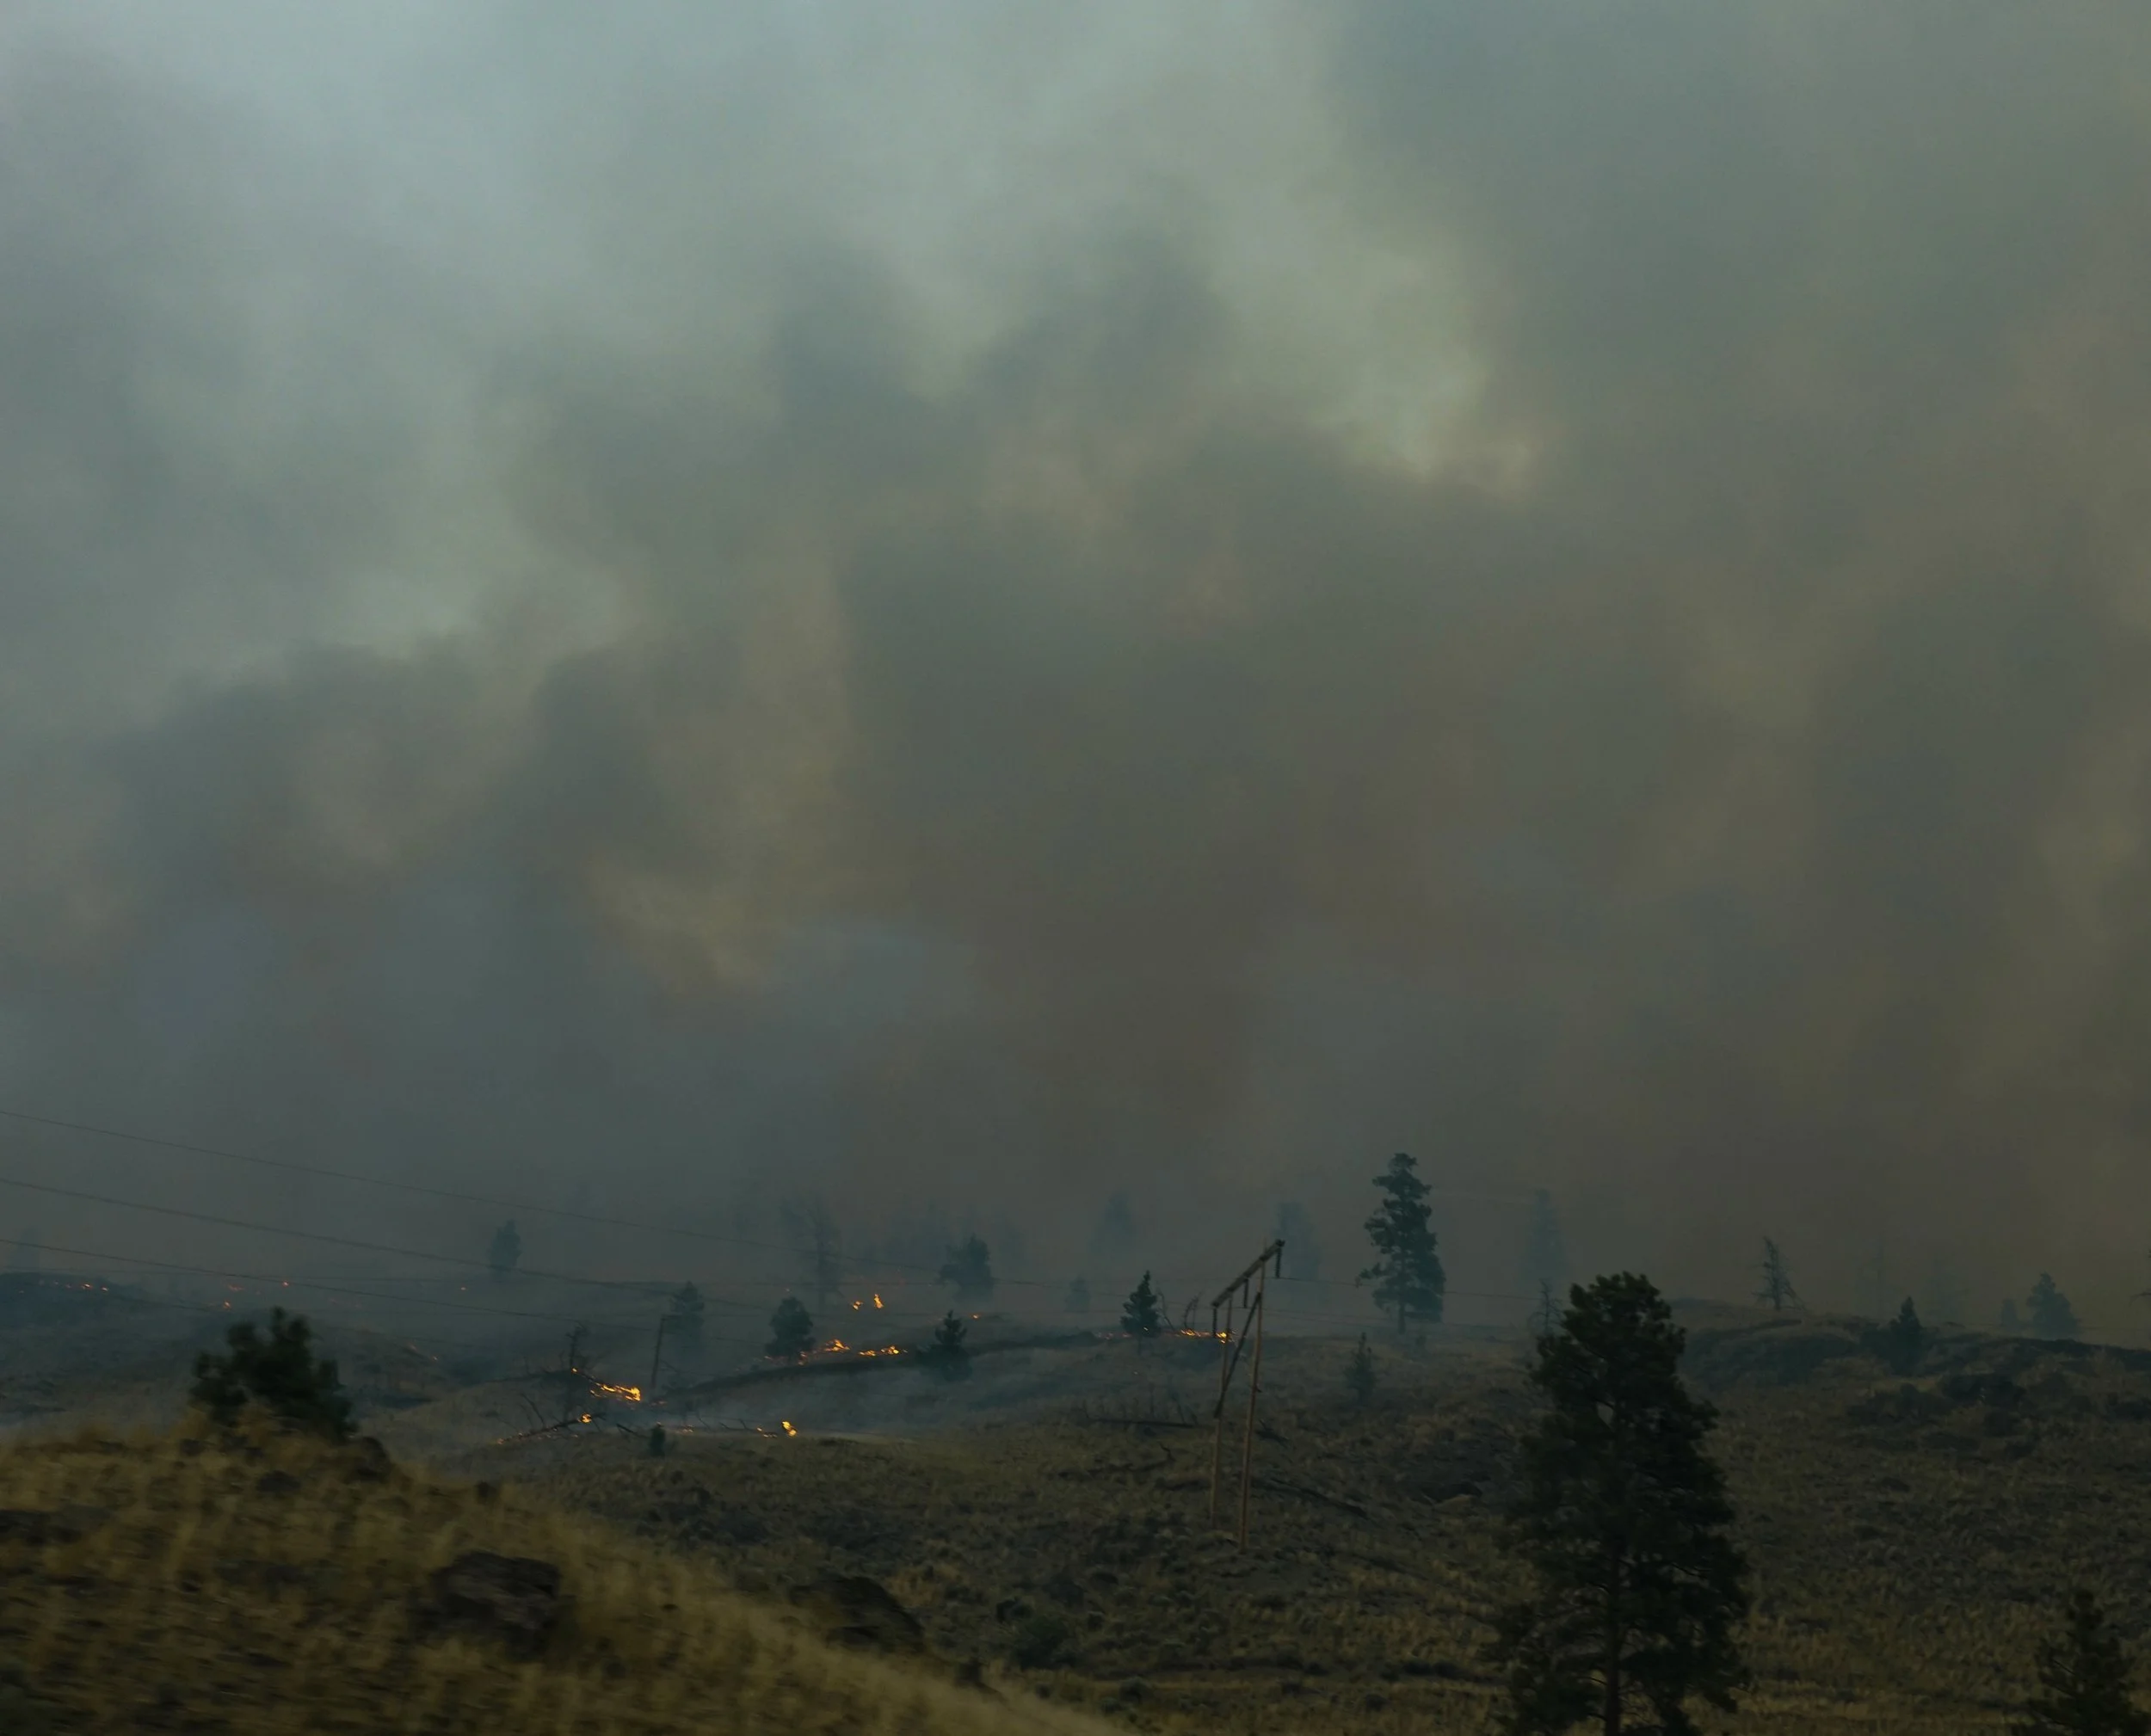
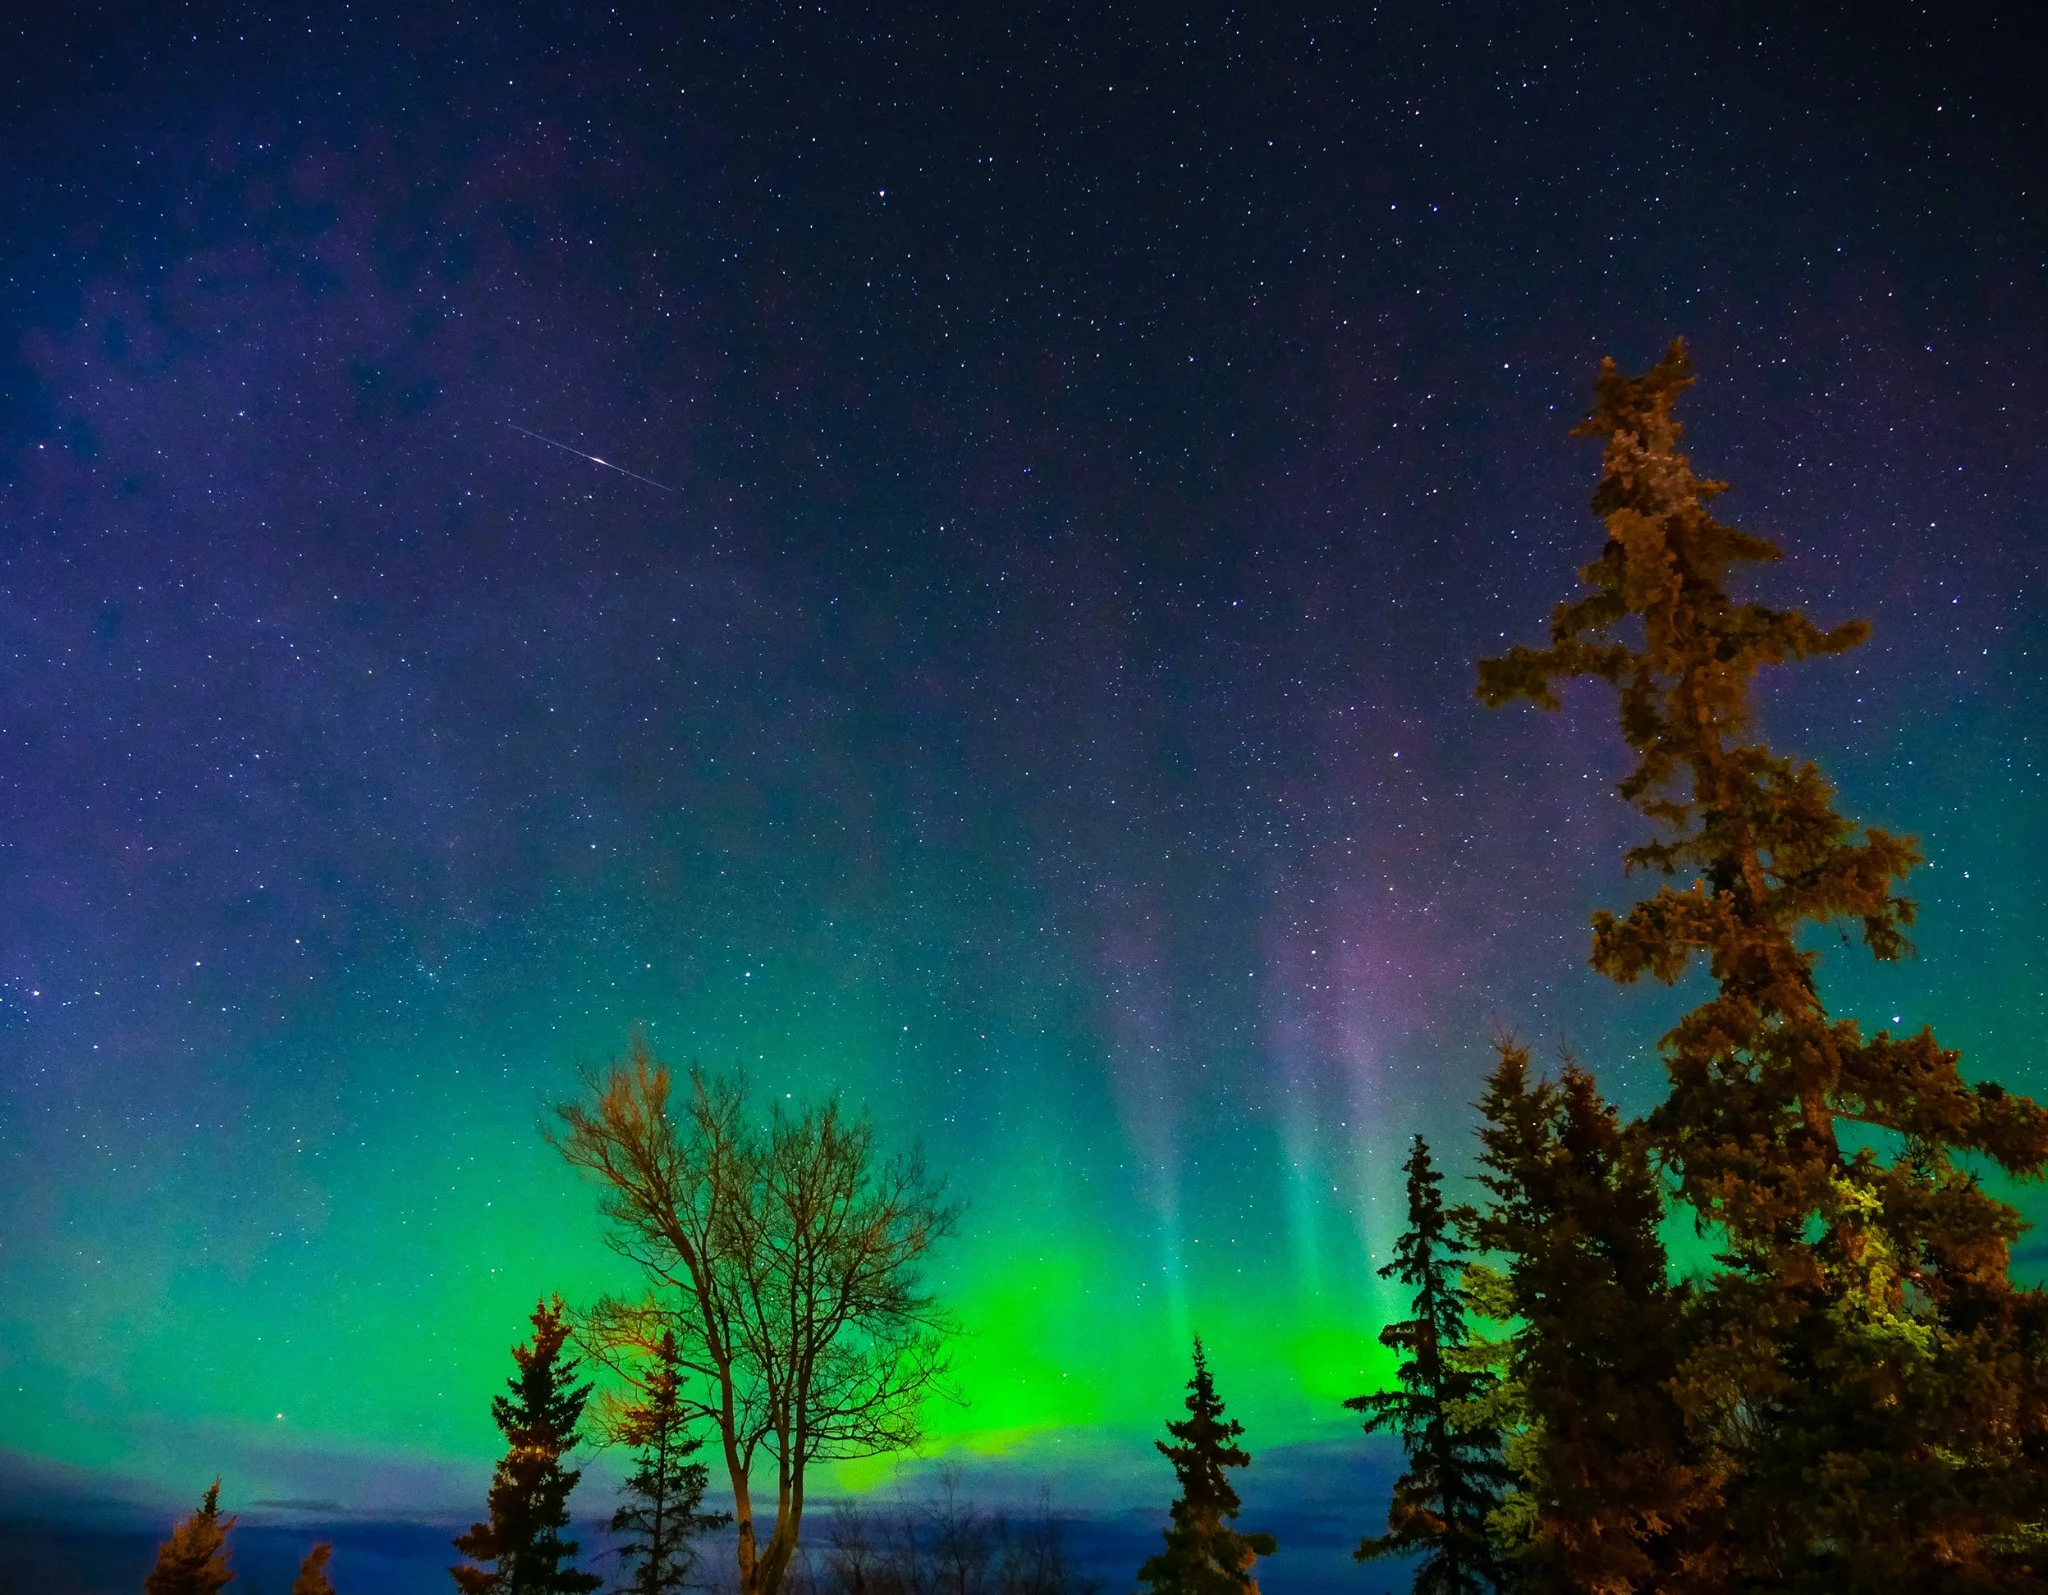
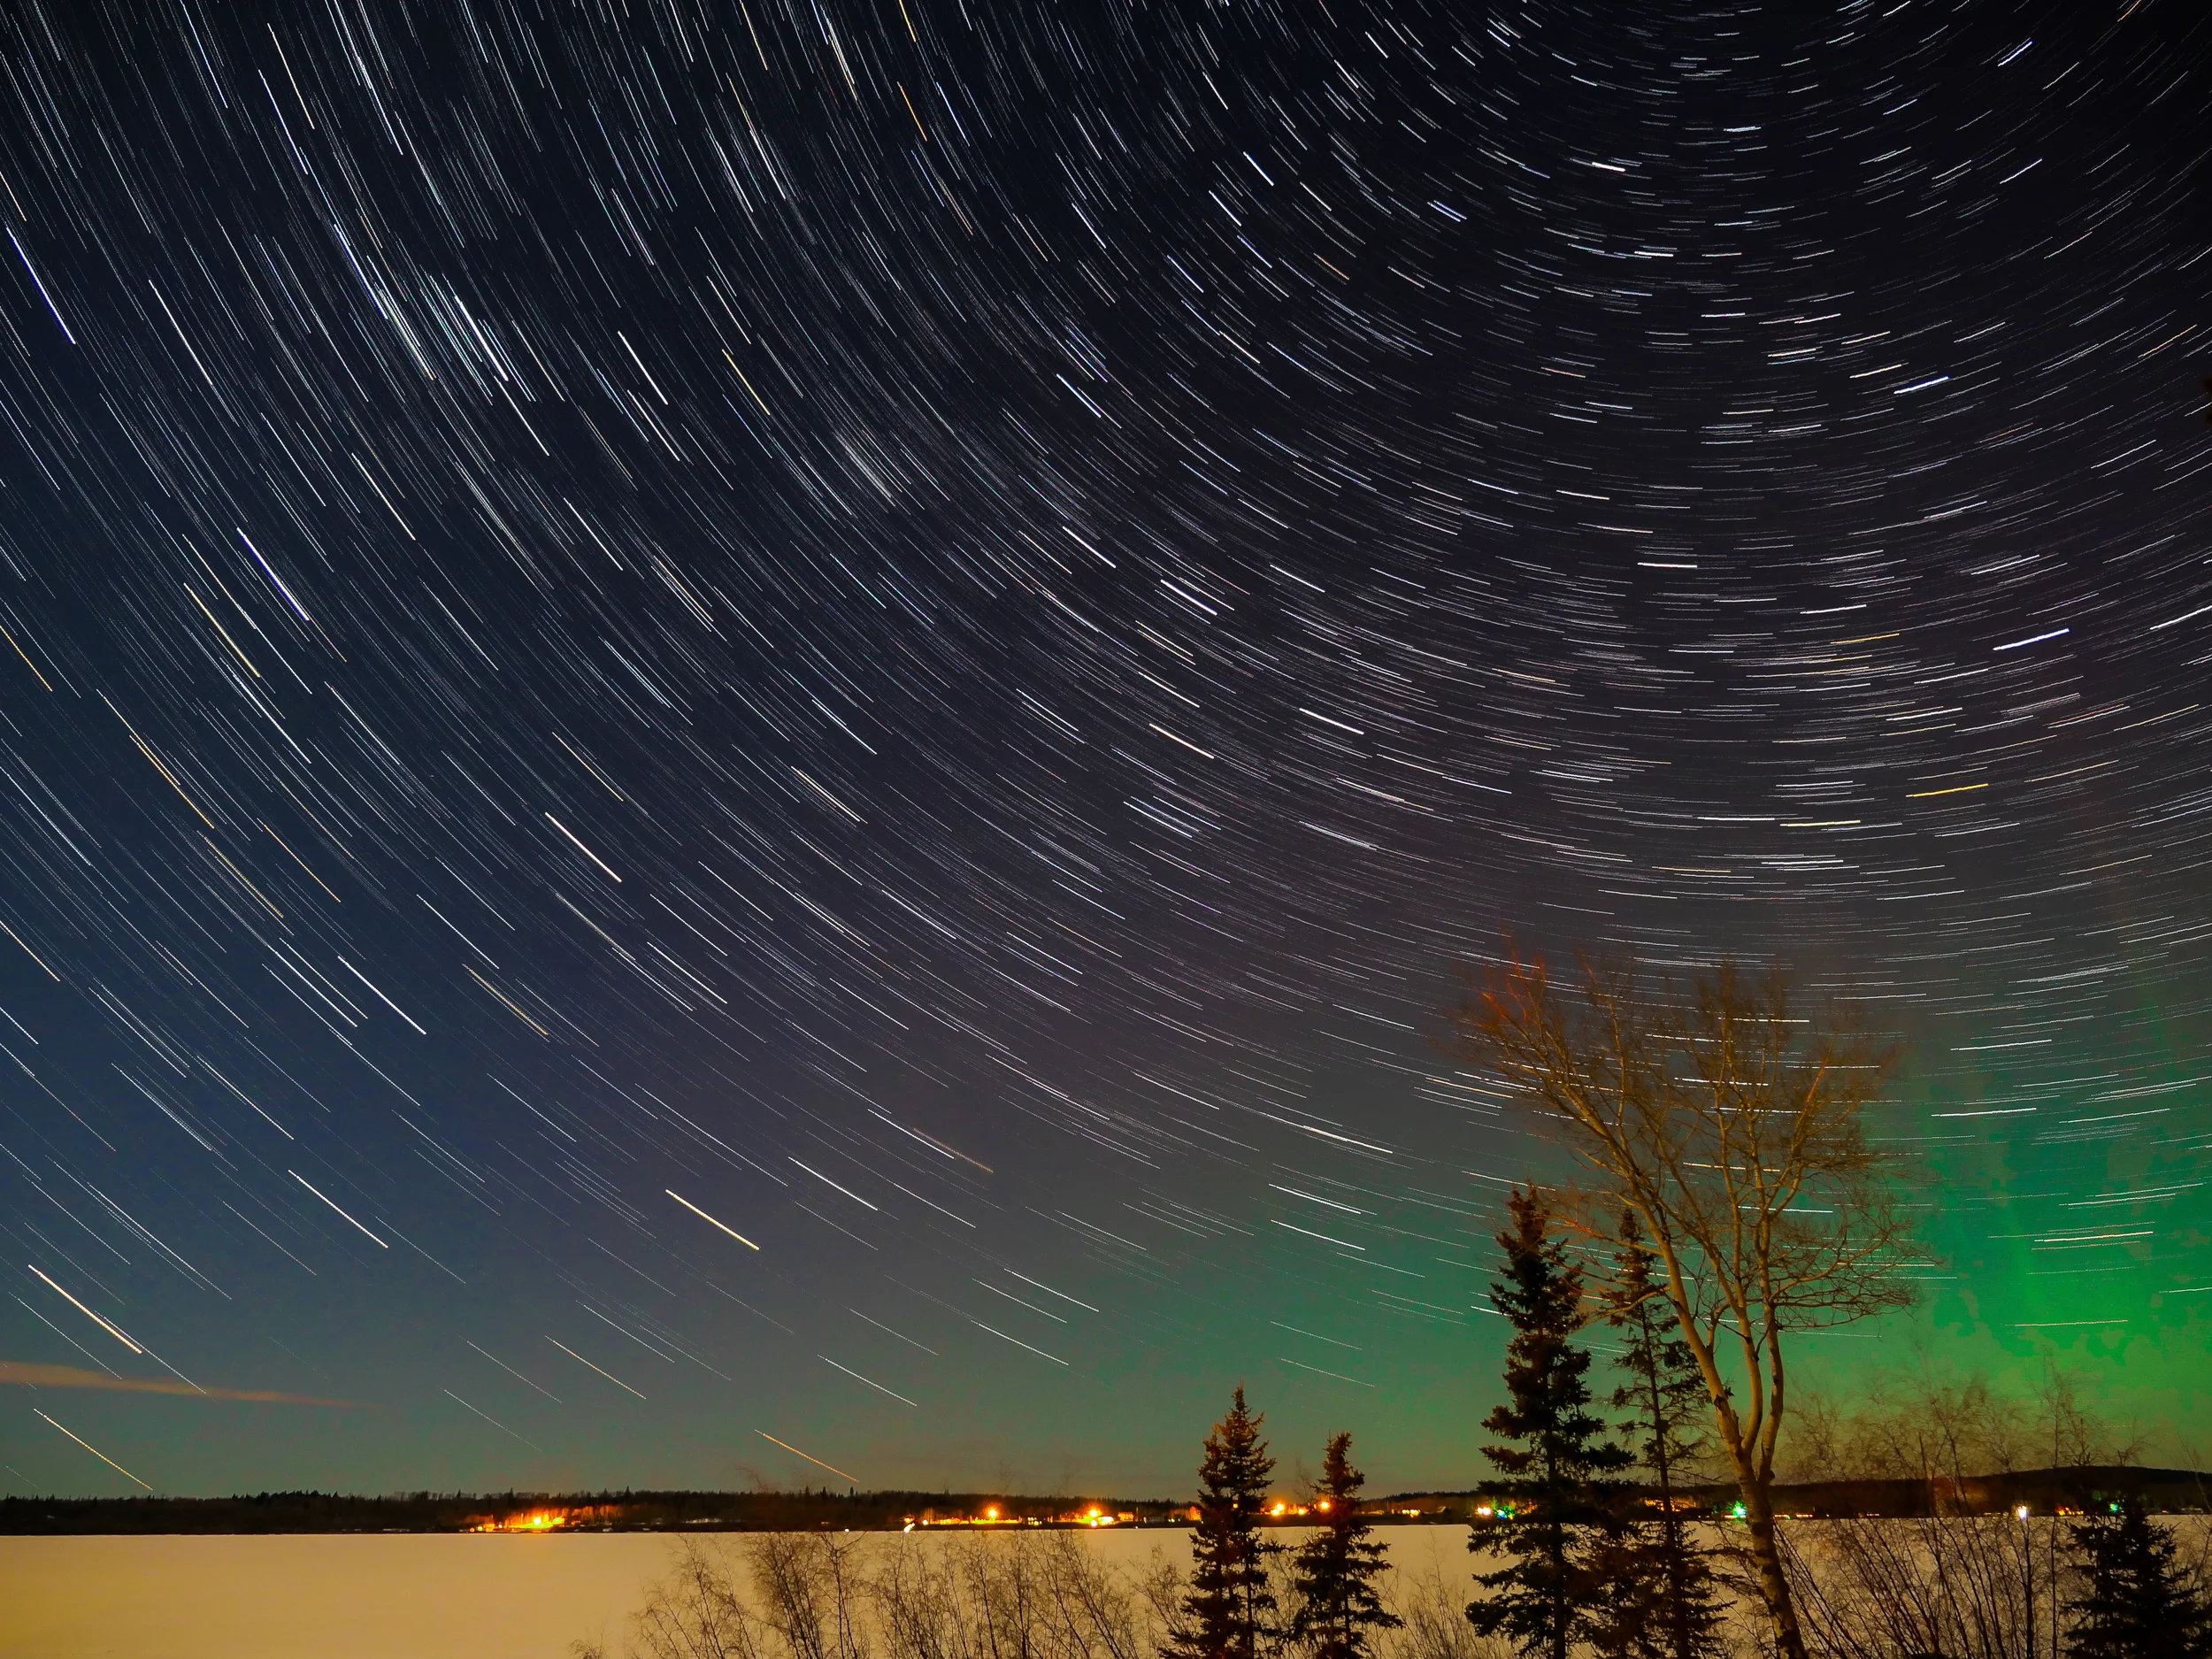
Renovated our kitchen, enjoying 4 grandchildren, Christmas craziness, and BAM, Covid-19 pandemic. Isolation, floods, fires, highest water levels at the lake in 35 years or so. Sandwiched in there I launched a new book and broke in a new camera, Trump is still being Trump, huge firearms ban in Canada, and some national tragedies unfolded.

As of the end of April:

The Prime Minister issued a Stay-At-Home-Order and if we must go out for groceries or prescriptions, we must maintain 6 ft/2 meters distance.  No hugging or touching. We are chatting online to friends, because we can't socialize in person.

1 week ago Nova Scotia was rocked with the worst mass murder in Canadian history and not related to the lock-down.

Today Fort Mac under extreme flood evacuation.

- The Canadian dollar is worth $ 0.71 to the US dollar, 1 euro $1.52 and the pound is worth $1.14 euro.

- Schools have been closed since mid March and teachers are teaching remotely on-line. This will likely continue for the rest of the school year.

- There are lines / tapes inside the stores on the floors to keep people 6 feet apart.

- Bars and restaurants are open only for takeout, home delivery & pick-up.

- Parks, beaches, hiking trails and walk-in places are not accessible to the public.

-Doctors appointments are by telephone or video chat. 

- All major and minor league sports competitions have been cancelled as well as kid's sports.

- All festivals and entertainment events have been banned.

- Weddings, family celebrations and birthdays have been cancelled. Funerals limited to 10-20 people.

- People are doing drive-by parades to celebrate birthdays!

- Young kids can’t understand why they can only see grandparents & other extended family and friends on a screen or thru a window if someone visits in person or on Face time online.

- Hugs, kisses and handshakes are not exchanged.

- The churches are closed or online.

- Talk show hosts are filming from their basements or front rooms via zoom online

- We have to stay away from each other more than six feet.

- Shortage of disposable masks and gloves in hospitals.

- There are fewer ventilators than there should be.

- People are wearing masks, some places even REQUIRE that you wear them to enter! People are even sewing their own cloth masks for sale or donation to medical facilities.

- Flour, yeast, eggs, Toilet paper, hand sanitizer, bleach, antibacterial wipes and anything Lysol or Clorox is in short supply and limited per person.... IF you can even find them!

- Stores are closing early to disinfect everything. (24 hour stores are even closing by 9pm)

- Store check outs, pharmacies and even fast food drive thru windows have added plexiglas between the employee and the customer.

- Australia, USA, Canada and Europe have closed their borders.

- No one is travelling for leisure. Airports are empty. Tourism has the worst crisis in history.

- Heightened anxiety is exhausting.

-hearts & rainbows in windows and doors across the world.

-yesterday May 17, one of the Canadian Snowbirds flight team crashed in Kamloops, killing one and severely injuring another.


The world is changed forever - we won’t be going back to the old normal way of doing things. We’re not out of it yet, as the virus is still very much a threat. But we will have to learn how to cope with it for now. There is so much uncertainty right now- so many people out of work, shortages of some basic needs, prices climbing, futures on hold… where we end up is anyone’s guess.


IMG_9109 copy.JPG


The Mystery of Flight CP 21

On July 8, 1965, CP Flight 21 issued three mayday calls while on its way to Whitehorse, BC. 

That was the last time it was ever heard from.  An explosion had rocked the DC6 aircraft and blew its tail section off.  All 52 passengers and crew perished.  It was later determined that someone had deliberately set off a bomb in the lavatory - and RCMP subsequently identified 4 suspects on the plane - but who actually did the deed has not been solved to this day.  The crash site is located in rough country about 35 miles west of 100 Mile House in British Columbia’s Cariboo Region. 

54 years later I visited the site, which still has many pieces of the wreckage scattered about.  It has become a memorial to the lost souls, although not many people go there anymore, much less remember the event. 

I wanted to photograph what still remains, and try to present a little different perspective from previous images I have seen. I tried to prepare ahead of time by listening the the excellent (and award-winning) CBC podcast “Bomb on Board”, and also read many articles about the incident, hoping to gain a greater understanding of what happened and to increase my sensitivity to what I might find. Even so, I was hard struck by such an overwhelming sense of loneliness as I walked the area with my camera.
These are some of my images from the site.  (The images may take a minute to load.)

A walk in the woods: visiting the crash site of CP 21.

Click on the thumbnails for a larger view.

cp 21-27.jpg

Ripples

As a result of the previous couple of years living with the so-called “new normal” of wildfire threat, I decided to throw my hat into the ring with our local volunteer fire department. This decision was also partially influenced by my approaching retirement - I figured this would keep me off the streets a few days a month.

SGLVFD (South Green Lake Volunteer Fire Dept) is a very well run organization, staffed by excellent people. Of course, many of these are neighbours and friends too. But as of 2019 the political landscape changed, and now we fall under the scope of the Thompson/Nicola Regional District; meaning we will receive the majority of our funding from government. Now we must comply with provincial standards in terms of playbook training, structure, equipment, safety, and everything else. Not a bad thing, since training and equipment is tremendously expensive.

April 26,27, 28… three of us from SGLVFD attended the Live Fire Training weekend hosted by 150 Mile Fire Department. Periodically required, this course included multiple training modules designed to emulate real world conditions, and how to cope or develop strategies to deal with them. There was a mix of interior attack, and exterior control/containment as well. It was quite physically challenging for some of us older members, but we all managed to survive the weekend!

Live fire exercise; a three-man team shuts down a propane fire.

Live fire exercise; a three-man team shuts down a propane fire.

Attacking a car fire

Attacking a car fire

A group of fire fighters take a break.

A group of fire fighters take a break.

After the Fires....

As previously mentioned, 2017 represented the most devastating fire season EVER in BC, and 2018 was even worse.

Thankfully (at least, for those us in the Green Lake area), in 2018 we were not as immediately imperilled as we were the previous year. There were a few fires near us, but these did not get out of hand, and were dealt with quickly enough. But the scars in our hearts and on the land will last for decades.

fire10.jpg
fire5.jpg
fire4.jpg

British Columbia on Fire, part two

After the crazy summer of fire last year, we didn't think it could happen again to the same degree.... we were wrong!  As of today, Aug 29/2018, we have just surpassed last years' record of 1.2 million hectares, and counting.  

We have had a few scares, with several fires burning pretty close to us at Green Lake, and were put on evacuation alert once for a few weeks.  But the weather cooperated and the wind and temperatures helped keep us out of harms way. 

Still, we were blanketed with heavy smoke (as was much of the rest of the province) for many days, to the point of going way beyond what health officials would call 'extremely bad air quality".  It was necessary to curtail most outdoor activities, such as the fire-smarting we were doing around our property - limbing up all our trees, raking the duff off the ground, and many trips to the dump.

Right at the peak of the smoke, due to one of the fires that burned fairly close to us (6 kms away), I was called out with our fire department (I joined up in the spring), as we had to deliver the evacuation alert door to door along the South side of the lake.  Normally the RCMP cover this, but they were short-handed at the time.  Hours later I developed a horrible cough from breathing the smoke all night, as did many people.  Hopefully this is not the "new normal" they say it will be!


glsmoke1-3.jpg

The beginning of the Sodium Lake Fire, later renamed to Twin Creek Fire


glsmoke1-4.jpg
Across the lake from us, the Wild Goose Fire begins...

Across the lake from us, the Wild Goose Fire begins...

Smoke and more smoke.

Smoke and more smoke.

glsmoke1-2.jpg
glsmoke1-9.jpg
glsmoke-2.jpg

And introducing our newest Grandson!

Born on March 28th, 2018, "Hendrix" joined us about 99 days earlier than anyone expected, which means he was NOT following in his mother's footsteps!  She was quite late apparently.

However, this early arrival also means that Henry needs to do a lot of growth and development outside of his mom over the next several months.  NICU (natal intensive care unit) at the Teck Acute Care Center is totally amazing, and we are very optimistic about Henry's progress.  He's a feisty little guy, and is working hard to get out of his incubator!


UPDATE AUG 7, 2018

Little Hendrix is has done so well in NICU... Last week he was moved to Lions Gate Hospital.  Now, if he can go 48 hours feeding normally on his own, then he will finally be able to go home!  It looks like this incredible journey is ending, and now another one begins.  We are so thankful he has come through with such flying colours!

FullSizeRender.jpeg

Update on the Summer Of Fire...

So here we are, Aug 21, and have now been on evacuation order since July 29. The Elephant Hill Fire, as it is now being called, is parked on our back doorstep, about 2 east.  To think that this fire began back on July 6 near Ashcroft, 100 kilometers away, is mind boggling.  Now it's poised along the length of Green Lake, and threatening to go further.  Just by (our) good fortune, the winds shifted to the east and turned the head of the fire away from us virtually at the last minute... although that spelled disaster for many other communities nearby.  We've heard that over 50 homes were lost or damaged just a short way down the road from us, at Pressy Lake.  

This fire covers almost 170,00 hectares, and as of yesterday was reported to be 25% contained, and still out of control.  We are at the mercy of the wind now. The structural protection crews have placed SPU's around our houses (sprinkler protection units) and we wait to see what the weather brings.  Nothing to do now but wait.....

Lucky us!  Just when the fire seemed destined to hit us, the winds shifted dramatically to the east, and the blaze ran parallel to Green Lake.  Missed us completely!  But too dam close!


Note; Edited to add, the Evacuation Order finally was lifted about September 11 or 12, and everyone was allowed home again.  I'm fuzzy on the actual date, because we had a planned trip to Europe, and we were away ... and when news reached us that the Order came off, we just wanted to get back home!

This map is from Aug 13th, and shows the direction of the fires at that time.  Updated maps became hard to get, because a combination of the smoke (obscuring the satellites) and massive amounts of data being handled made the system bog down. &n…

This map is from Aug 13th, and shows the direction of the fires at that time.  Updated maps became hard to get, because a combination of the smoke (obscuring the satellites) and massive amounts of data being handled made the system bog down.  

A different overlay shows where the hotspots were.  Very close to us at Green Lake.

A different overlay shows where the hotspots were.  Very close to us at Green Lake.

The Cariboo Fires of 2017


July 25, 2017

At least 40,000 people were evacuated from their homes shortly after July 6, 2017, when fires broke out in the South Cariboo of BC.  Most were lightning-caused, but some were also human-caused fires.  The conditions were ripe for a disaster - very hot days, heavy winds, a lot of fuel in the bush due to the years of Pine-Beetle killed trees.  And then lightning.  Fires grew in a logarithmic progression, and several quickly became "fires of note" in the Province.  

2 hectares, to 40 hectares, and then to 500 overnight, thousands within a couple of days.  Entire towns were put on alert, and soon after, given evacuation orders:  100 Mile House, 103 and 108 Mile House, Williams lake and all the surrounding areas.    To the south; Ashcroft, Cache Creek, Loon Lake, Clinton, Chasm and all populated areas north of there were either evacuated or put on alert status.  There were two fires to the east in Little Fort, threatening to cut off the last route of evacuation, but those were contained thankfully!  Williams Lake, a large town of over 20,000 people, was evacuated to Prince George and Kamloops, or where ever people had friends or relatives.

July 25,  the Province is in a declared State of Emergency, and while a return to home is being contemplated in some places, most communities remain on Evac Alert, meaning they could be told to get out on minutes notice. That includes yours truly, here on Green Lake!  We are prepared for the worst, but hoping for the best....

Black day in July:

We received evacuation notice on the night of July 29th, as our worst fears started to become reality.  The fire had jumped the last natural barrier, the Bonaparte River, and was being pushed by winds in our direction.  The fire was ranked class 5, which is only one below the max in severity.   As of the 30th, we are in wait and see mode.  Fingers crossed!

And now, the sun!

August 21, 2017 ...  the day everyone is waiting for!  Well at least SOME people...  

That is the day of the total eclipse of the sun, and the Path of Totality will pass across the USA for the first time in umpteen years.  It's a pretty big deal, and people book hotel rooms in the path of the eclipse years in advance.  It's supposed to be an almost Religious Experience to see the totality, and there is a brief couple of minutes where the corona of the sun can be seen without special glasses when the eclipse reaches it maximum.  In the Cariboo (central BC), the eclipse should begin shortly after 9am.

Total Solar Eclipse... Photo Source: Travel Salem

Total Solar Eclipse... Photo Source: Travel Salem

Speaking of special glasses; you cannot look at any portion of the eclipse (except than when the sun is totally covered by the moon) without special eye protection. (Sunglasses will NOT DO no matter how dark they are!)  You can have serious problems or even blindness as a result of looking directly at the sun.  Order some inexpensive solar viewing glasses off Amazon or E- Bay such as SOLUNA brand... (About 24$ for a 10 pack, so family and friends can have a set). They're not unlike the old school 3D glasses you used to get at the movie theatres - at least in construction.  They are cardboard frames.  But these have special filters to protect your eyes while directly looking at the sun. Check out Soluna.com to get more info.  These are supposedly the only glasses that are approved by NASA, and are ISO rated, etc.  Do your research on these, for your safety!  If you are not photographing, you can buy sheets of the Baader film that makes it easy to hold up in front of your face while viewing, and then you don't have to look like a dweeb with the cardboard glasses on.  Haha!  Just remember, even with the filter, view intermittently, a few minutes at a time - not continuously.

So I have my glasses, and now I also need a protective filter for my camera lens.  Naturally I need some protection there too, if I want to photograph the eclipse, right?  Because I'll be looking through the lens no doubt.  (And it's not just for your eyes ... but for your camera's sensor as well.  It can overheat and quit on you).  I went onto E-Bay again, to find the filter I wanted.  Mine is a Gosky Optics Baader Film filter, which fits over the lens hood of my telephoto lens and stays put via 3 rubber-tipped set screws.  Very secure, no danger of it accidentally falling off while I'm looking at the sun.  Did I mention, do NOT look at the sun without protection?

This filter is not glass - it is a special solar-viewing film stretched onto the circular frame.  Much less expensive than an optical glass solar filter, but will work just fine.  Just make sure it is not wrinkled, or has any punctures or …

This filter is not glass - it is a special solar-viewing film stretched onto the circular frame.  Much less expensive than an optical glass solar filter, but will work just fine.  Just make sure it is not wrinkled, or has any punctures or tears in it, or it will not be safe to use.

If you are not in the Path of Totality, which is only about 70 Miles wide, then you can only see varying degrees of a partial eclipse, depending on where you are.  But it will still be cool! Get some glasses, get a filter for your camera, and give it a go!

The Path of Totality map: https://i.redd.it/mnm7v4oadp4x.png

A graphic video of the path of the eclipse:  https://svs.gsfc.nasa.gov/4515   

For a quicker reference, below is a map showing the percentage of partial eclipse you will see from various locations across Canada:

IMG_1328.PNG


Time to run some exposure tests!

The first shot, on my Lumix GX8, using the 100-400 Leica DG lens, my settings were:  390mm.  F5, 1/400 sec, ISO 800.  This is with the Baader filter in place, of course, which seems absolutely black if you aren't looking at the sun.  Same rules as moon/star shots; pre-focus to infinity  and set camera settings beforehand if you can....  These test shots were hand held.  I plan to be on a tripod for the real event.  As you can see in the tests, there is some cloud cover.  Still getting a decent image, but clear skies would be best.  My luck, it'll be raining wherever I am that day.

test 1
test 2

A beginner's guide to shooting the Milky Way

OK, here goes.   As promised, after receiving a ton of questions about shooting the milky way, I'm going to try to outline how to get a decent shot without buying a 25,000$ telescope!  This is a bit lengthy, but there's really no way to say it in 500 words or less.  Even so, please bear in mind that I'm keeping this as simple and basic as possible.  I'm certainly no expert, and serious astrophotography is a very technical field, and I'm only barely scratching the surface to get you started.  If you get hooked, you can do further research on your own!

This one made Editors’ Favourite, June 8, 2017 on National Geographic Your Shot.

This one made Editors’ Favourite, June 8, 2017 on National Geographic Your Shot.

This was my first try. Lots of room for improvement! First lesson; pre-focus in the daylight! lol

This was my first try. Lots of room for improvement! First lesson; pre-focus in the daylight! lol

Background:  

For me, this astrophotography thing got started partly because I finally caved in to the digital age. Having very deep roots in film, going back over 40 years, I was trying use a modern digital camera body, and yet stick to my old ways of producing images mostly "SOOC".  (Straight Out Of Camera).... Basically, look for the light, envision the shot, manipulate the camera, focus, frame, and shoot. And then wait for the results to come back from the lab, unless you had your own darkroom.  The best thing about digital, I thought, was that I didn't have to wait to see the results anymore.  

Eventually I came to see that I was missing out on so much more of what digital technology adds to photography.  I love looking at pictures; I look at many dozens every day if I can.  I learn so much just from doing that.  More and more I am amazed at what is being done today.  So I finally decided that it is never a bad thing to check your biases - right?   Philosophical arguments aside about "photoshopping" images, I may be late to the party but I am trying to catch up a bit.  

Astronomy 101:

Technically speaking, it's a misnomer to say we are photographing the milky way, since we actually live with in it.  Everything we see in the sky is part of it.  It's kind of like the Star Wars Force;  it binds and surrounds us...  LOL!   For our purposes we are concentrating on photographing the Galactic Core, which is arguably the most interesting part with all the dust clouds, wispy tendrils and colourful nebulas.  Which I have yet to truly capture properly.  It's an ongoing project.  Even just for viewing with the naked eye, you are better off with very dark skies.  Here's a couple useful sites to start with:

Finding the Milky Way:

In the Northern Hemisphere; look towards the southern skies to see the galactic core.  It will become visible due southeast in Spring, due South in mid-summer, or Southwest in fall.  We lose sight of the Core during the winter months in our Hemisphere.  You'll have to do some travelling if you want to photograph it in winter.  Not a bad thing!   

If you are facing South, stars rotate clockwise - left to right, around Polaris, the North Star.  Find the North Star, and then turn around and look the opposite way.  If you are in the Southern Hemisphere, you will likely find the Milky Way Core ahead of you.


Gear up:

You can actually get some nice Milky Way shots without a lot of fancy equipment.  I am assuming that you currently own a digital camera, and have some knowledge of cameras and photography in general already.                             

The basic requirements are:  

  1. A camera that is capable of manual mode, with a "B" shutter speed setting. If your camera has interchangeable lenses, you want to be able to set it to the widest aperture possible, (more about that later), and the "B" (bulb) setting will allow you to keep the shutter open for as long as you want. You likely need an ISO of at least 1600, and possibly more.

  2. A good tripod. You want a good sturdy tripod to keep things still. And a cable or wireless release. If you don't have a cable or remote release, you can always use the self-timer. The main thing is that you want as little contact with the camera if possible, at the point of shutter release.

  3. Widest and fastest lens in your bag will be the best to start with. Wide, meaning something like 28mm. 21mm and wider would be even better. This is because the milky way can span over 240 degrees in the sky - it's really hard to capture the full majesty of it without a wide angle lens. You can make do with whatever lens you have though. Just keep in mind that a narrower field of view (more magnification) will accentuate the perceived movement of the stars, and therefore may necessitate a shorter exposure to avoid making star trails in your picture. You want to achieve sharp pinpoints for stars, not orbs or lines. Fast, meaning you will want to use a lens that has a max aperture of at least 2.8 or larger. Again, the issue is about avoiding star trails. You want to capture as much light as possible in a short period of time. You can compensate somewhat by boosting your ISO way up, but that comes at the cost of more noise in the picture. It's a trade off at that point. From a technical point of view (in simple layman's terms) when you press the shutter button, power is being sent through the sensor so that the individual pixels can collect photons (light). The longer this process is going on, the hotter the receptors get, which creates distortion (noise) in the final picture. (Giant telescopes in observatories have sophisticated cooling units to address this).

  4. Shoot in the raw. Well, you can wear whatever you want, but I mean; If your camera can capture raw files, use that. Raw files have tons more dynamic range than jpegs. You will have way more latitude to tweak everything in post processing later. Plus, if you don't like how it turned out, you don't lose the original data. You can just reset and start over! With jpeg outputs, you are relying upon the little computer in your camera to post process, and then you are very limited in what you can do afterwards. Some in-camera processors are very good these days, but can never match the power of your desktop or laptop.

  5. Image stabilization. If your camera has image stabilization, turn it off. It works against you when you're on a tripod.

  6. Manual focus. You want to set your lens to manual focus, because the autofocus function won't work in the pitch dark pointed up into the sky.

Optional gear:

Armed with the above, you can get a pretty decent picture.  But if you want to spend a few bucks, then you can start to really improve on the final results.  There is a relatively cheap ($280 USD) 12mm f2.0 Rokinon brand lens on ebay that gets excellent reviews for star photography, for example. It's wide and fast.  You could also invest in an equatorial mount, or, tracking mount.  There are a few different ones on the market, and these units counter-act the rotation of the earth, so that you can eliminate star trails during long exposures. This means that instead of keeping exposures down to 20 seconds or so, you can go minutes, because the tracker keeps the stars in the same position on your sensor.  With it you can also use "slower" lenses without the noisier signature of higher ISO.'s.  It doesn't make noise go away, but it helps.  I'm using an IOPTRON skytracker, (approx $400 CDN) which works very well and is easy to set up. This seemed like a cheaper option to me than buying more lenses, since the tracker can be used with all the lenses I already own.

It's a bit of an arms race after that!  You can go to extremes by having the IR cut-off filter removed from your sensor, or buy a camera already set up that way.  (All land-based cameras have this filter over the sensor in order to balance the kind of light we see in the daytime, for normal picture taking.  But a lot of the light we receive from space is in the IR range, so we miss out on a lot.)  That reminds me, don't forget to remove your skylight or UV filters before shooting the stars.  I'll just stop there.  Suffice to say that you can go as far as you want if your bank account is happy enough.  The whole point is that you can do this with your basic gear. Everything else is icing on the cake.

Pre-Planning:

Checklist:

  1. Camera & Lenses

  2. Tripod and release cable

  3. Perform all camera settings beforehand

  4. Smart phone with Stellarium app

  5. Remove any skylight/UV filters

  6. Flashlight with a red lens (so you don't ruin your night vision)

  7. Extra batteries for everything

  8. Extra memory cards

  9. Notebook

  10. Bug spray in some areas!

So now you have your gear assembled.  Assuming you have a night with clear skies, the next thing you need is a good location to view the Milky Way!  First and most important, is to get as far away from the city lights as you can.  Light pollution will wash out most of the stars.  During long exposures, even a little glow which seems dim to our eyes, will be a huge problem in your photos. Next, pick a near-moonless night. You can check the internet for moon phases; you want the New Moon cycle, which will be the darkest skies.  There are all kinds of phone apps to help with this. Also, check out Stellarium, which is an invaluable smart phone tool for planning where the Milky Way will be in real time or at a certain time/date in the future.  

I like a location that is fairly high, and has wide open spaces, but that's all up to you. Your foreground can be "painted" with a flashlight, or you can add a separate image later in photoshop, like I did.  (The Milky Way doesn't actually rise over Green Lake in the place I show it below.)  One (of many) mistake I made was leaving most of my set up till I got on location.  It's really tricky to get critical focus in the pitch black, and many lenses go a little past "infinity", so you can't just rack the lens out to the max and have things in focus.  Now I do that during the day on some distant mountains, and then tape the barrel so it doesn't move.  Make all your camera settings ahead of time too.  Fumbling around with tiny buttons in the dark really sucks.  

If your camera has a Noise Reduction mode, use it.  Writing the image to disk takes a little longer, but you'll get a cleaner capture.  If you have a Live View mode, use it.  You can watch the image build on the screen, which is way cool.  

The Shot:

Set up your tripod and camera so you are looking south.   Once it is dark, try a test exposure of 30 seconds, ISO 1600, f 2.8, with your widest angle lens.  If your lens is slower than 2.8, you may need to boost your ISO a little more.  Check your test image for star trails, focus, composition, levelling etc. and make any adjustments.   

There's something called the "rule of 500", whereby you divide the focal length of your lens into 500, and the result is an approximate exposure value to start with - (example, 24mm lens divided into 500 = 20.8 seconds) but I have found that it is more of a guideline than a rule, since many people have different crop factor sensors, etc in their cameras and the formula doesn't take this into account.  Still, it is a place to start.  You'll have to experiment a bit to find the best exposure for your particular setup, but that's half the fun! 

A not-so-good iphone pic of my setup on location. Dam it's dark out! I'm using a tracker mount, but you don't need one to get some great shots.

A not-so-good iphone pic of my setup on location. Dam it's dark out! I'm using a tracker mount, but you don't need one to get some great shots.

For the pics in this blog I was using an Olympus OMD EM-5 on the Ioptron skytracker mount.  I have other cameras, but this one seemed to handle noise a little better, plus it has live-view, which allows me to watch the image build on the rear screen at preset intervals.  Of course, I'm handicapping myself right from the start, because I'm using Micro four/thirds format... If you have a larger sensor you may achieve better, cleaner images than me.   

*edited to note, as of 2018 I've added a full-frame sensor camera back into the inventory.

Good Luck and have fun!

I'm sure I missed a lot here.... please email me or leave a comment!

Aurora, and the the lure of astrophotography....

Perched as we are on top of the Fraser River Plateau in the South Cariboo, we are in a fine location for dark skies and little haze.  Alas, we are not quite far enough North to see a lot of Aurora Borealis (Northern Lights) displays on a regular basis - but from time to time there is a significant event and we can get some amazing light shows.  We had such an event recently, and I managed to capture a few nice frames.  The whole process of photographing the night sky got me interested in trying some star trails, (long exposures which show the stars movement in time). From there it was a natural progression to start thinking about capturing the Milky Way in all its glory.... Astrophotography, it turns out, is a highly technical branch of photography all unto itself; but even without investing huge sums of cash for a lot of additional equipment, it is possible to get some very nice pictures of the stars just using your basic digital camera and a tripod.  If you can spring the extra $ for some sort of star tracker unit, then so much the better, but it's not mandatory in order to achieve some decent results.  There are a few different units available that won't cost you and arm and a leg.  More about these things in the near future, as I will attempt to describe the whole process and perhaps review the Ioptron Skytracker, which I now have.   :P

Pic below is a single exposure, 8 seconds f2.8, ISO 1600, 24mm.

Star Trails - multiple images stacked.  In the Northern Hemisphere, the stars rotate around Polaris, (the North Star) so over time the stars appear to be turning in a circle.  In actual fact, of course, it is we who are spinning.  

SPRING; just around the corner

When we see the Canada Geese back on the Lake, we know the ice will be off soon, and Spring can show her true colours again.  We could actually do without the Geese and the huge mess they leave behind on our lawns though, thank you very much.  Couldn't we get some other harbinger of the growing season?  A parade down Main Street or something would be good enough.

New Addition to our house!

The time seemed right, and the right puppy came along, so we took the plunge....

Chappie is an F1 Golden Doodle, meaning he is a 50/50 cross between a Poodle and a Golden retriever.  The interesting thing about his Poodle background is that it was not just a normal poodle, but a "parti-poodle", which are usually white with black patches.  Our little guy is mainly white with reddy-brown patches.  He is proving to be a very intelligent, very confident, with a nice, even temperament. 

IMG_4599.JPG

Back from Wells Grey BC....

Took our new (to us) travel trailer out to Clearwater, BC, and camped at the KOA near the entrance to Wells Grey Provincial Park.   We spent the better part of a week exploring some of the parks' natural wonders.

The geology of the area is fascinating, with deep, river cut gorges exposing the successive layers of basaltic lava columns laid down by past volcanic eruptions.  The lava beds are said to be 2000m thick!


Click on these pics for a larger view...

We recently purchased a LOT of 1 inch thick sliced pentagonal slabs of Basalt for our home landscaping projects at 79 cents per pound... This place is worth a FORTUNE!  lol


As the glaciers melted and receded over 14000 years ago, the resulting torrents of water eventually wore down the lava, resulting in many awesome waterfalls throughout the park.

Spahat Falls:

Helmcken Falls:   (At 463 feet, I think it is ranked the 4th highest waterfall in Canada?)

A Clearwater River resident:

Many weird rock formations in odd places... we saw one other natural bridge like this one.  Likely there were many more....

Chinook were spawning while were in the park:  This pic was taken at Bailey's Chute, which is the last stop for the salmon.  They keep trying, but cannot pass this last waterfall.

View of Pyramid Mountain (rain falling on it) from the Green Mountain lookout tower.

We certainly didn't cover all the sights the Park has to offer - It will need another trip, another time.....